
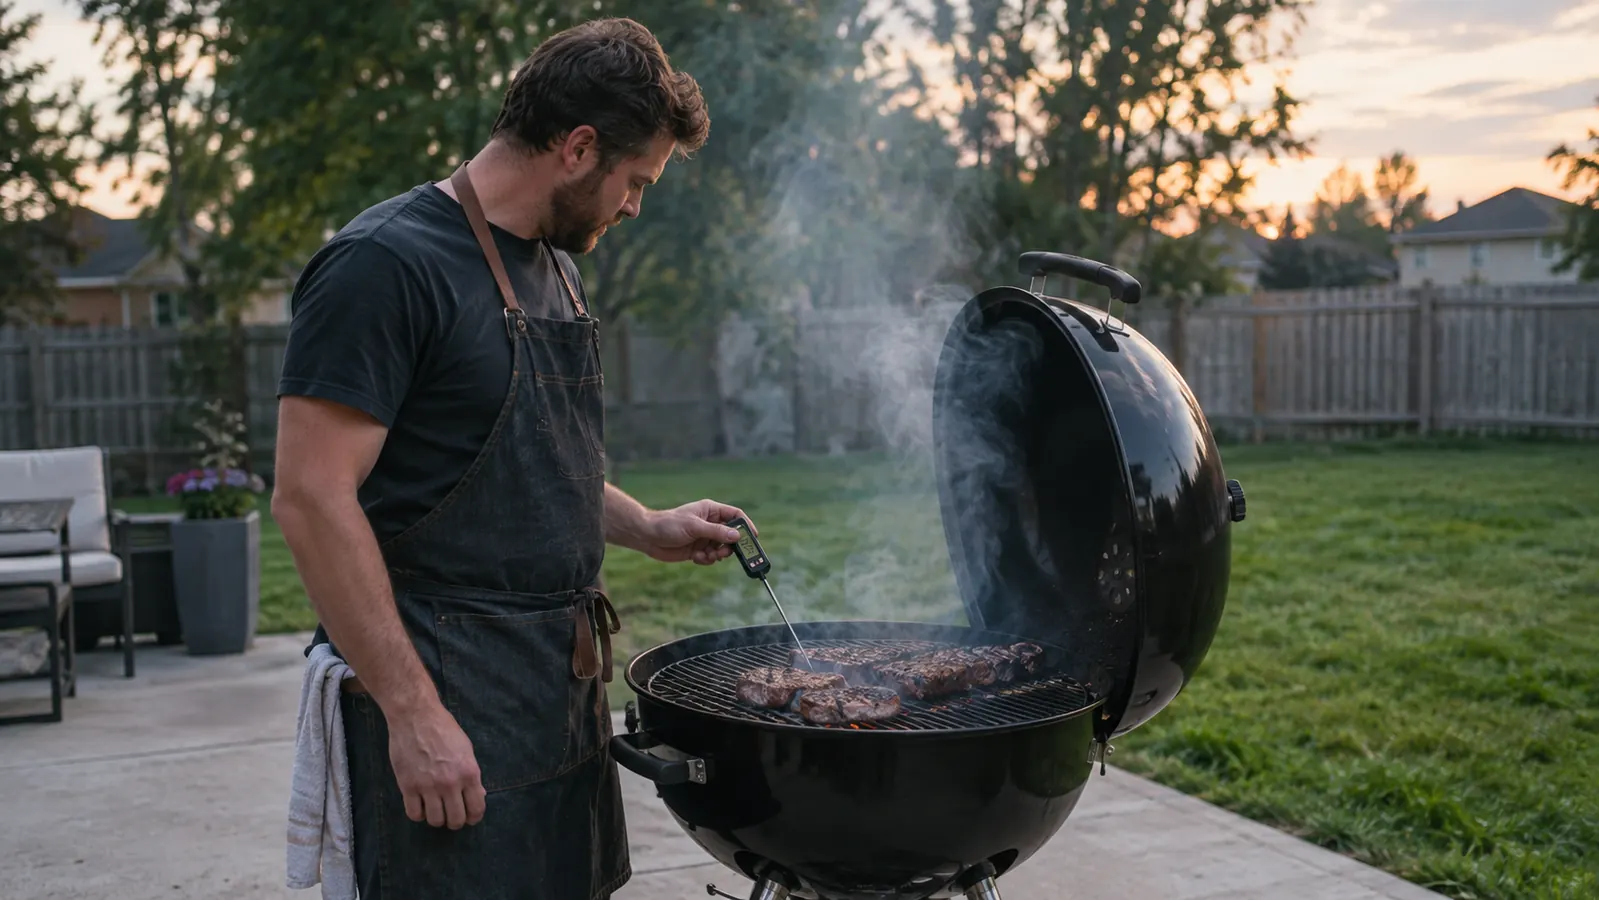
I spent most of my life guessing when meat was done. Thirty years as a tool-and-die machinist taught me to trust measurements, not hunches. But for the first decade of grilling, I did what everyone does: poked the meat, compared it to my thumb, and hoped. I got lucky sometimes. I dried out a lot of chicken and served pork that made everyone chew slowly. Then I bought a TempPro TempSwift instant-read thermometer, and the guessing stopped.
The thermometer itself is not magic. It reads temperature in about two seconds and shows it on a screen. The method matters more than the tool. This is the exact routine I use on my 22-inch kettle, my propane gas grill, and my pellet smoker. It works the same on all three because the meat does not know what made the heat.
Stop poking the steak. Start reading the number.
The TempPro TempSwift reads in two seconds, so you can check without holding the lid open. See today's price on Amazon.
Amazon Check Today's Price on Amazon →Step 1: Calibrate with ice water before you trust anything
Every thermometer drifts, especially after a season of bouncing around a drawer. I check mine in ice water once a month. Fill a glass with crushed ice, add water, wait a minute, then stick the probe in. It should read 32 degrees Fahrenheit. If it does not, most instant-reads have a calibration screw or button. The TempPro does not, so I use the offset feature, but the check itself is the part that matters. I have a plastic cup that lives by the sink just for this. It takes two minutes and it saves me from serving undercooked pork.
I learned this the hard way. Last July I cooked a pork loin that read 145 when I pulled it, and it came out pink in the middle. The thermometer was off by six degrees. I had not checked it since spring. That was the last time I skipped the ice bath. Now I set a reminder on my phone for the first of every month. When the snow is on the ground in January, I still do it, because a thermometer that sits in a cold garage can drift just as fast as one that rides around in a drawer.
I also check the thermometer against boiling water once a year, just to see the high end. At sea level, water boils at 212. Here in Grand Rapids, we are about 600 feet up, so it is closer to 210. I do not use that as a hard number, but it tells me if the probe is reading consistently across its range. A thermometer that is correct at 32 but off at 200 is a sign of a failing sensor.
Step 2: Probe the thickest part, not the edge
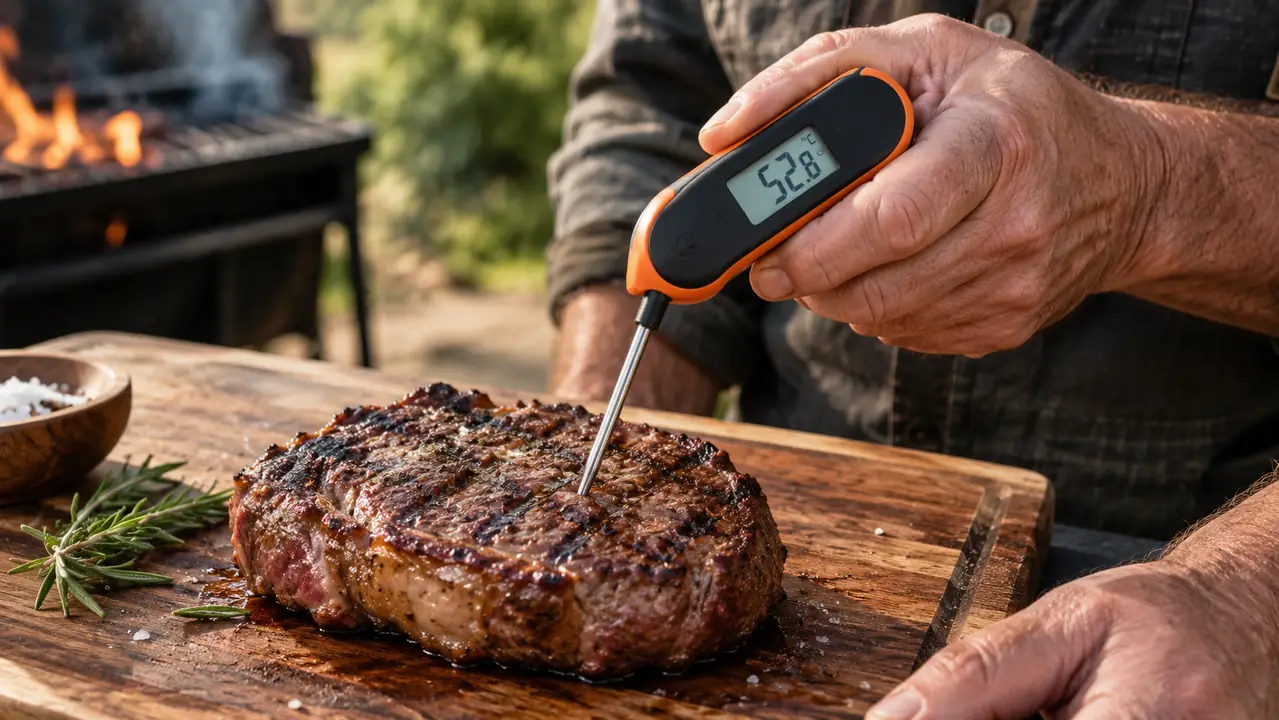
Where you put the probe changes the reading by twenty degrees or more. The tip of the probe is the sensor, so you need the tip in the center of the thickest muscle, away from bone and fat. On a chicken thigh, that is the thickest part of the thigh, not the breast. On a steak, it is the center of the thickest section, parallel to the cutting board. I have watched people stick a probe through a thin strip of flank steak and get a reading of 140 when the rest of the steak was still cold.
I tell people to imagine the probe as a dipstick. You want the tip in the oil pan, not resting on the side. If you hit bone, you get a reading that is hotter than the meat. If you hit fat, you get a colder one. Move the probe around and watch the numbers climb and fall. The lowest reading is usually the truth. On a thick steak, I take three readings in different spots before I trust it. On a whole chicken, I check both thighs and the breast, because they cook at different rates.
One thing that surprises people is how fast the probe responds. The TempPro shows a reading in about two seconds, but it takes another second or two to stabilize. I hold it in place for three full seconds and watch the number stop moving. If I am checking a large roast, I move the probe to a second spot and compare. If the two readings are more than ten degrees apart, I move it again until they agree.
Step 3: Know the target numbers, not a guess
Here are the numbers I use. Chicken breast: 165. Chicken thigh: 175 to 180, because dark meat needs more heat to break down connective tissue. Pork chops and pork loin: 145, then rest. Ground beef patties: 160, because the risk is not in the meat itself but in what might have been mixed in. Steak: 130 for medium-rare, 135 for medium, and I pull it five degrees early because carryover cooking finishes it. I write these on a grease pencil on the inside of my grill lid, so I do not have to remember them.
The USDA numbers are higher for safety, and they are not wrong. I am not going to tell you to ignore them. But I have cooked thousands of chicken breasts at 165 and they come out juicy, not dry. The trick is hitting that number exactly, not overshooting by twenty degrees because you were scared. That is what the thermometer is for. My wife Marlene still prefers her pork chops at 150, so I pull them at 145 and they rest up to 150. That is the difference between a tool and a rule.
I keep a small magnet on the side of my grill with the target temperatures written on it. I made it from a piece of sheet metal and a dry erase marker. My neighbor saw it and asked for a copy. It saves me from looking up the numbers on my phone when my hands are covered in raw chicken. The numbers I listed above are the ones I trust after years of cooking, but I always look them up again before a big cook if I am trying a new cut.
Step 4: Pull early and let carryover do its job
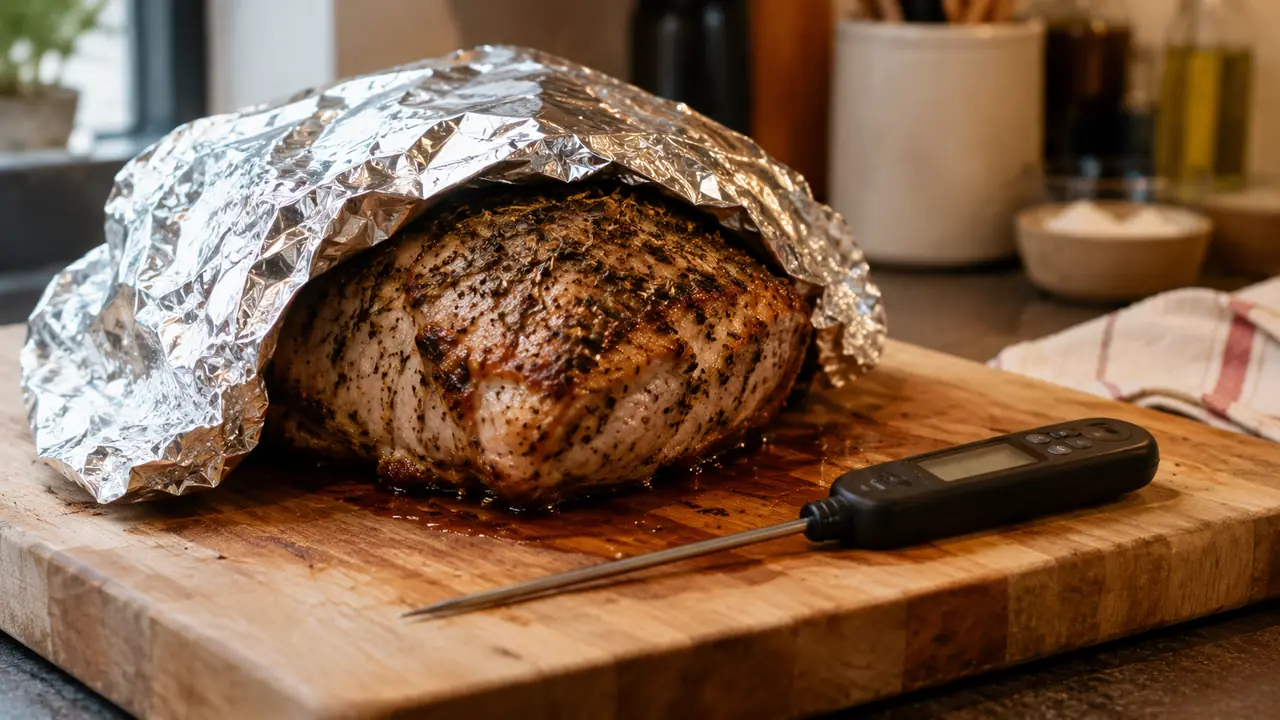
When you pull a piece of meat off the heat, the internal temperature keeps climbing. The bigger the cut, the more it climbs. A thick steak can go up eight to ten degrees while it rests. A pork loin might climb five. Chicken breast climbs less, but still climbs. So I pull everything five degrees before my target, tent it loosely with foil, and let it sit for five to ten minutes. On a brisket, which is a different animal, carryover can be twenty degrees, but that is not what this article is about.
I used to pull chicken at 170 because I was afraid of 165. It came out like a shoe. Now I pull at 160, rest it for five minutes, and it hits 165 on the plate. The rest is not a suggestion. It is part of the cooking process. The juices redistribute and the muscle relaxes. A probe will not fix a piece of meat you never let rest. I have a cheap digital timer that I set for five minutes the moment I pull the meat. I do not trust myself to count in my head when there is food on the line.
Carryover is where most people mess up. They pull the meat when it hits the target, then wonder why it is overdone after resting. I have learned to trust the thermometer and the math. For a two-inch ribeye, I pull at 125 for medium-rare. It climbs to 130 on the board. For a whole chicken, I pull at 160 and it hits 165. The only way to know your own grill's carryover is to measure it. I did that for a month, logging every cook, and now I know my kettle runs about five degrees of carryover and my gas grill about four.
Step 5: Clean the probe, and store it where you can find it
The TempPro has a probe that comes out of the body, which is the right design. You rinse the probe under hot water and wipe it with a paper towel. Do not put the whole unit in the dishwasher. The electronics do not like that. I keep mine in the drawer next to the grill tongs, with the probe cover on, so it is ready when I need it. The probe is about six inches long, which is enough to reach the center of a thick roast without getting my hand close to the heat.
I have burned through two cheap thermometers because I left them on the grill grate while I cooked. The plastic melted. The TempPro has a warning beep if the probe gets too hot, but I still take it off the grate after I check. The probe is rated to 500 degrees, but I do not test that on purpose. A thermometer is a tool, and tools last when you treat them like tools. My old machinist habits kicked in after I ruined the second one. Now it goes back in its sleeve the second I am done reading it.
I also learned to keep the probe tip clean. A burnt-on layer of old fat makes the probe read slow and sometimes low. I use a stiff brush on the tip after each cook, the same kind I use for my machinist tools. The probe is stainless steel, so it does not react with food, but it still needs a good scrub. Once a month I give it a soak in warm soapy water and rinse it well. That keeps the response time at two seconds instead of four.
What Else Helps
A good thermometer solves the biggest problem in grilling, which is guessing. But a few other things make the whole process easier. A clean probe reads faster. A spare set of batteries means you are never caught at the moment you need it most. And a logbook, even a notebook page, helps you remember what worked. I keep a page for each meat, with the final temperature and the carryover I saw. After a year, I know exactly how much to pull early for my grill. On my pellet smoker, for example, I pull a pork shoulder at 195 and it climbs to 203. On my kettle, it climbs less because the heat is more direct.
The one thing I would not skip is the ice bath check. It takes two minutes and it is the difference between trusting the number and hoping it is right. I also recommend reading the thermometer when the meat is still on the grill, not after you have carried it inside. That is when the reading matters. If you are cooking for a crowd, take two readings in different spots. People will wait an extra minute for their steak if it means it is cooked right.
The thermometer does not make you a better cook. It makes you a more honest one.
Know the number, not the guess.
The TempPro TempSwift gives you a two-second read, so you can cook with confidence every time. Check today's price on Amazon.
Amazon Check Today's Price on Amazon →