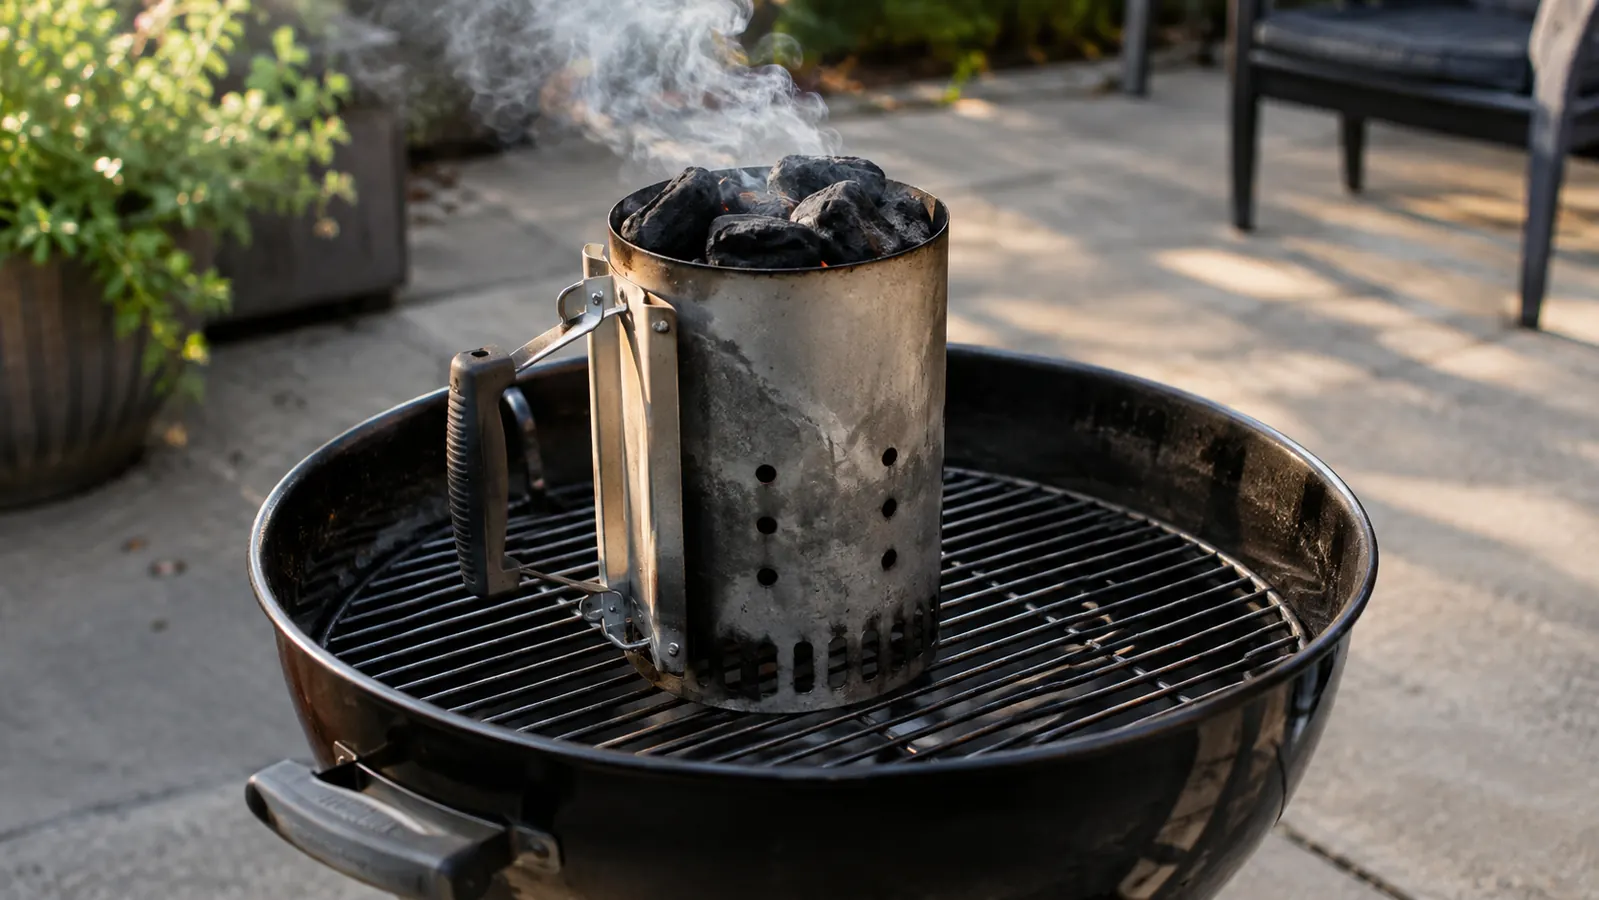
If you still light charcoal with lighter fluid, I am not going to lecture you. I used it for years myself, back when I thought the only two options were fluid or waiting forty-five minutes for briquettes to catch on their own. Then a neighbor showed me a chimney starter on a cold October afternoon, and I never went back. This is the method I have used on my 22-inch Weber kettle for the last eight years, through Michigan summers and winters both. It gets a full chimney of lump charcoal hot enough to cook on in about fifteen minutes, and it does it without a single drop of fluid.
The tool that does the work is the Weber Rapidfire Chimney Starter. It is a steel cylinder with a wire grate inside, a handle on the side, and a smaller opening at the bottom where you light crumpled newspaper. You fill the top with charcoal, stuff paper underneath, light it, and let the chimney do what chimneys do. The draft pulls air up through the coals, and within a few minutes you have a column of glowing charcoal ready to dump into the grill. I have owned the same one for years, and it still works as well as the day I bought it.
Skip the Lighter Fluid and Light a Full Chimney in About 15 Minutes
The Weber Rapidfire Chimney Starter is the tool I reach for every time I fire up the kettle. It is simple, it lasts, and it gets the coals ready while you prep the food.
Amazon Check Today's Price on Amazon →Step 1: Fill the Chimney With the Right Amount of Charcoal
Set the chimney on a flat, level surface. I use the concrete patio behind the house, but the grill grate works too if the grill is cold. Fill the top with charcoal until it is heaping. For a full load, I use about three quarts of lump charcoal, which is roughly half a standard bag. If you are cooking for four people, you can fill it three-quarters full and still have plenty of coals. If you are cooking for a crowd, fill it to the top and plan to add a few unlit briquettes to the kettle when you dump the lit ones in.
Do not pack the charcoal down. Loose coals let air move through the chimney, and air is what makes the fire spread fast. I learned this the hard way the first time I used a chimney, when I crammed the top full and tamped it down like I was packing a bearing. It took twice as long to light and burned unevenly. Leave the coals loose, and the chimney does the work.
One more thing about the fill: use lump charcoal if you can. It lights faster than briquettes, burns hotter, and leaves less ash. I keep a bag of lump by the grill all season. Briquettes work fine in a pinch, but they take a few extra minutes to catch and they produce more ash to clean out later.
Step 2: Crumple Newspaper and Stuff It Under the Chimney
Take three or four sheets of newspaper, crumple each one into a loose ball, and stuff them into the bottom opening of the chimney. The opening on the Weber Rapidfire is wide enough that you can get a good handful of paper in there without fighting it. Do not pack the paper tight. You want air to move through it, not a solid wad that smothers the flame.
I have tried every ignition method you can name over the years. I have used a propane torch, a heat gun, and those paraffin fire starters you can buy in a box. The torch works, but it is one more thing to keep on the shelf. The paraffin cubes work too, but they cost money and they leave a little residue. Newspaper is free, it is in the house already, and it lights with one match. I keep a stack of old papers in the garage next to the charcoal bin, so I never have to hunt for it.
If it is windy, turn the chimney so the bottom opening faces away from the wind. If it is raining, move the whole operation under the eaves or onto the covered part of the porch. The chimney needs to stay dry for the first few minutes, or the paper will struggle to catch. Once the coals are going, a little weather does not matter.
Step 3: Light the Paper and Let the Draft Do the Work
Light the paper in two or three places with a long match or a lighter. I use a long-reach lighter because my fingers get stiff in cold weather, and leaning over a chimney with a short match is a good way to singe your knuckles. Once the paper catches, you will see flames licking up through the bottom vents within a minute. That is the draft working. The chimney pulls air in through the bottom, up through the coals, and out the top, and that airflow is what turns a pile of cold charcoal into a bed of glowing coals.
Leave the chimney alone for the first five minutes. Do not poke it, do not shake it, do not dump it early. The fire needs time to spread from the bottom of the column to the top. You will know it is working when you see smoke rolling out of the top and hear the coals crackling. On a calm day, a full chimney of lump charcoal is usually ready in twelve to fifteen minutes. On a cold day, add a few minutes. On a windy day, it can be faster, because the wind feeds the draft.
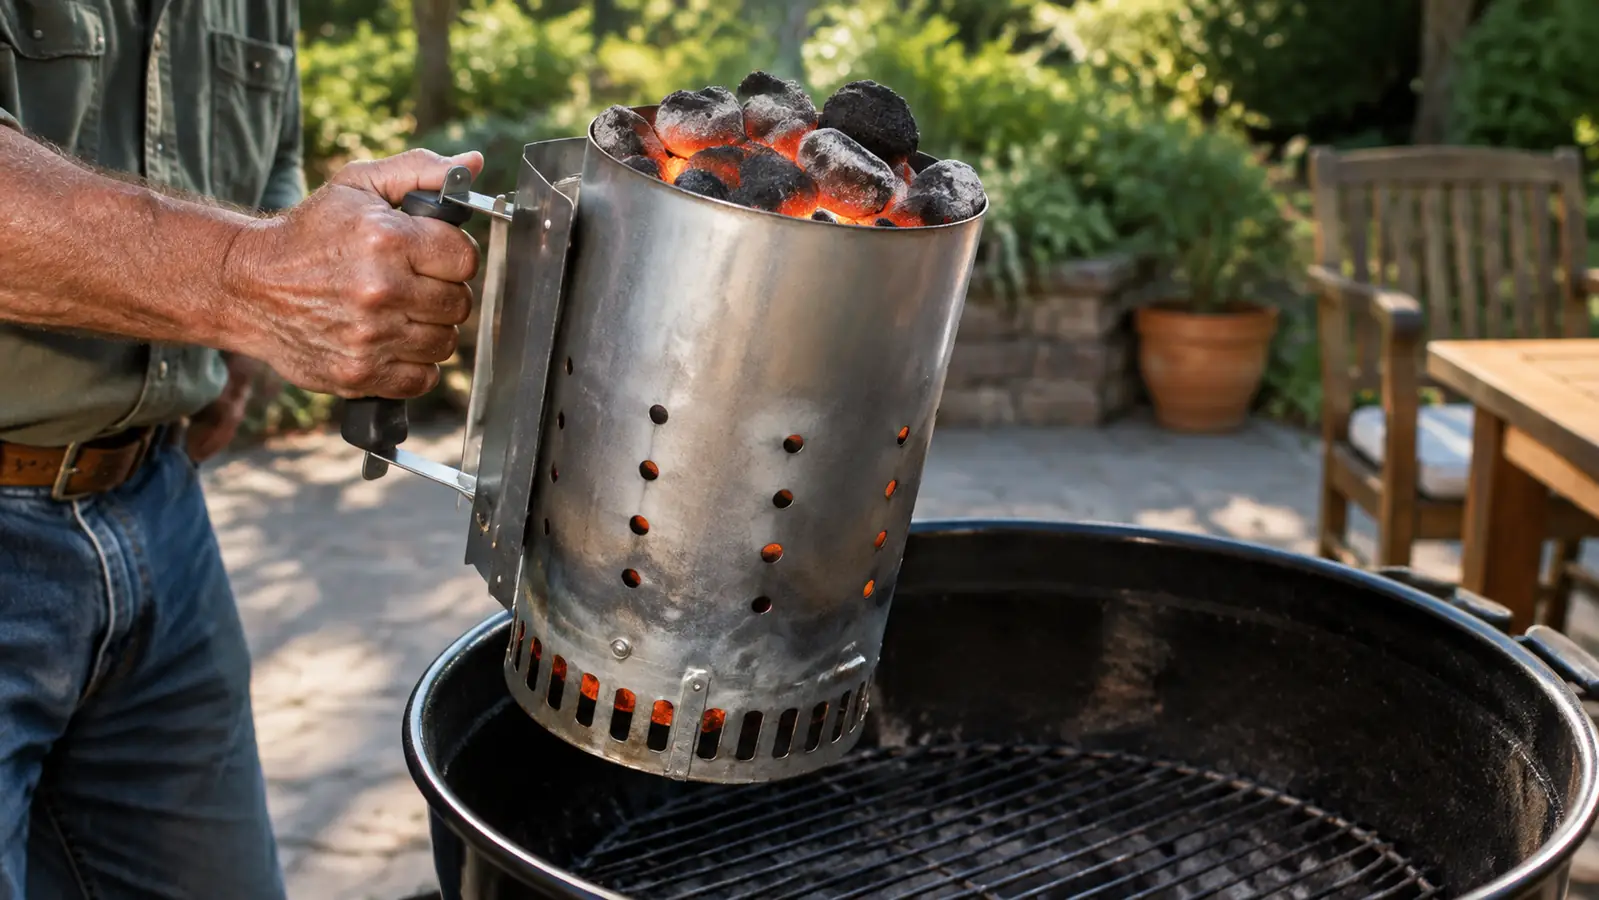
The first time I used a chimney, I dumped the coals as soon as I saw flames at the top. That was a mistake. The coals on top were still black, and the fire died down in the kettle before the food even hit the grate. Now I wait until the coals on top are ash-gray and glowing, which means the whole column is lit. That is the sign you are looking for, not just flames.
Step 4: Dump the Coals Into the Kettle and Arrange Them
Put on a heavy grill glove, grab the chimney by the handle, and pour the coals into the kettle. The Weber Rapidfire has a solid handle that stays cool enough to grip, but I still use a glove because I have dropped a chimney of hot coals once and I do not want to do it again. Pour them into the center of the grate, then use a long-handled tool to spread them into a single layer. For direct cooking, spread them evenly across the bottom. For two-zone cooking, push them all to one side and leave the other side empty.
Two-zone is the setup I use for most cooks. It gives you a hot side for searing and a cool side for finishing, and it means you are not moving food around a crowded grate. For a rack of ribs or a whole chicken, I put the coals on one side, put the meat on the other, and let the kettle work like a small oven. For burgers or steaks, I spread the coals even and cook directly over them.
If you need more coals than one chimney holds, dump the lit chimney into the kettle first, then add unlit charcoal on top. The lit coals will catch the unlit ones over the next few minutes, and you will have a full bed without having to light a second chimney. I do this when I cook for the whole family on a Sunday, and it works every time.
Step 5: Let the Coals Settle Before You Cook
Give the coals five minutes to settle after you dump them. They will be roaring hot and covered in gray ash, but the temperature will even out as the last few unlit pieces catch. If you put food on right away, you will get flare-ups and uneven browning. Wait until the flames die down and the coals glow evenly, then set the grate in place and let it heat for a couple of minutes before you put food on.
How do you know the coals are ready? Hold your hand about five inches above the grate. If you can keep it there for two seconds, that is a hot fire, good for searing. Three to four seconds is a medium fire, good for chicken and vegetables. Five seconds or more is a low fire, good for ribs and slow cooks. I use this test every time, and it has not let me down in eight years.
One thing I will tell you plainly: the first few times you use a chimney, you will probably dump the coals too early or too late. That is normal. The window between not ready and overdone is wider than you think, and you will learn to read the coals after a few cooks. The chimney does not care if you get it wrong. It just sits there and works the same way next time.
What Else Helps
A chimney starter is the biggest improvement you can make to how you light charcoal, but a few other things make the whole process easier. A good pair of heavy grill gloves is worth the money, especially if your hands are not what they used to be. A long-reach lighter saves you from leaning over the chimney. And a small metal bucket with a lid is the best ash container I have found. I keep one next to the grill, dump the ashes into it after every cook, and empty it into the garden once a month. Wood ash is good for the soil, so the bucket earns its keep twice.
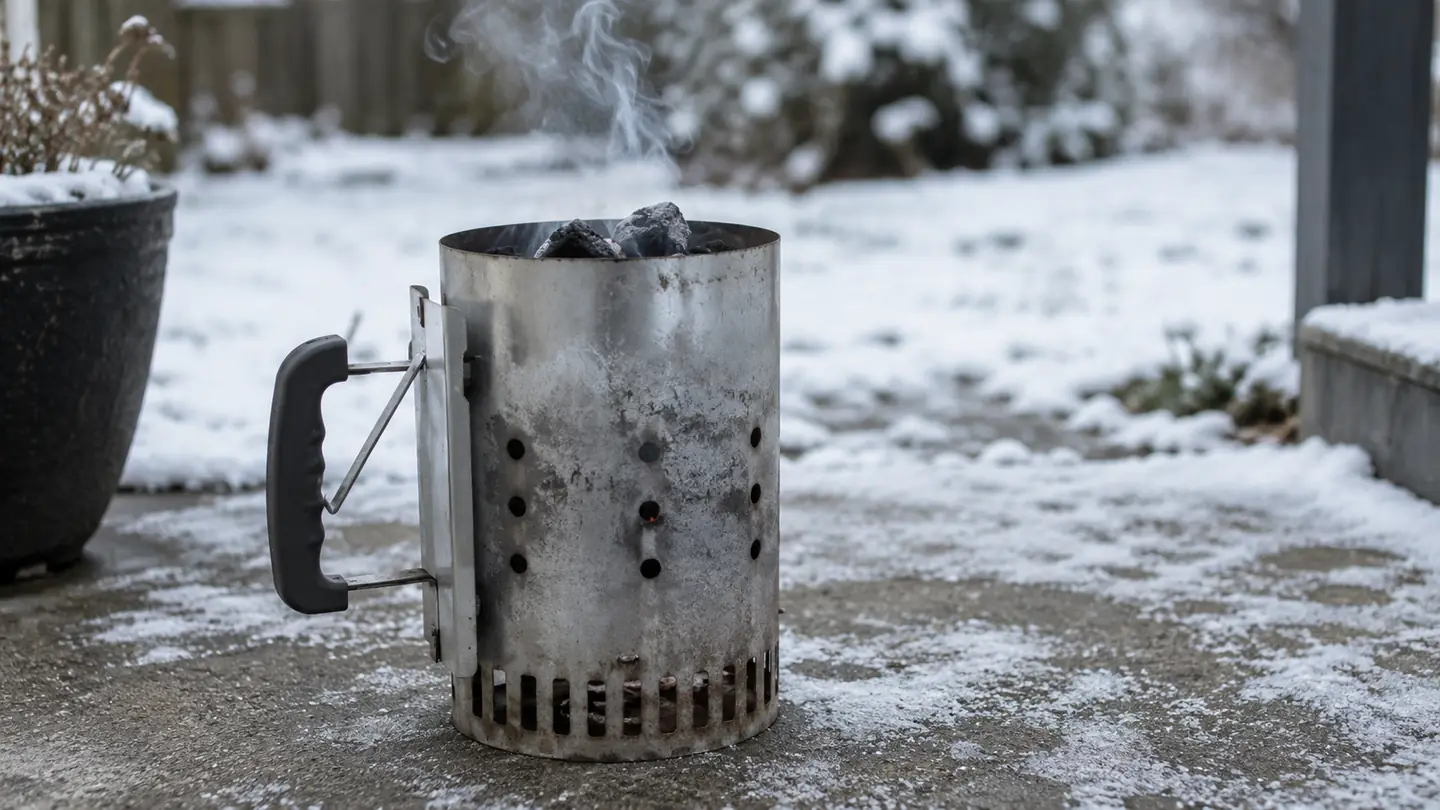
The Weber Rapidfire Chimney Starter is the one tool I would not trade. It has sat on my patio through rain, snow, and a Michigan winter, and it still works like the day I bought it. The paint has faded and the handle has a little surface rust, but the steel is solid and the draft still pulls. That is what I care about after eight years: not how it looks on the shelf, but whether it does the job every single time I reach for it.
The first time I used a chimney, I dumped the coals as soon as I saw flames at the top. That was a mistake. Now I wait until the coals on top are ash-gray and glowing, and the fire is ready every time.
Light Your Charcoal the Same Way I Do, Every Time
The Weber Rapidfire Chimney Starter has been on my patio for years, through rain, snow, and a hundred cooks. It is the simplest upgrade you can make to your charcoal routine.
Amazon Check Today's Price on Amazon →